Windrose Combat Guide: How to Stop Dying to Boars
Charging headfirst into a group of enemies and blindly mashing your attack button is a guaranteed way to end up six feet under.

Windrose does not explicitly warn you, but its combat system heavily borrows from the souls-lite genre. It relies entirely on stamina management, attack telegraphs, and deliberate timing. If you treat this like a casual action game where you can just out-click a feral boar, you are going to get flattened.
The mechanics are incredibly forgiving once you understand the rhythm, but the learning curve is brutal if you skip the fundamentals. Now before you waste another afternoon doing the walk of shame back to your tombstone, you need to completely change how you approach an armed conflict. If you are entirely lost on which weapons you should even be holding, take a quick detour and read my weapons and armor tier list first.
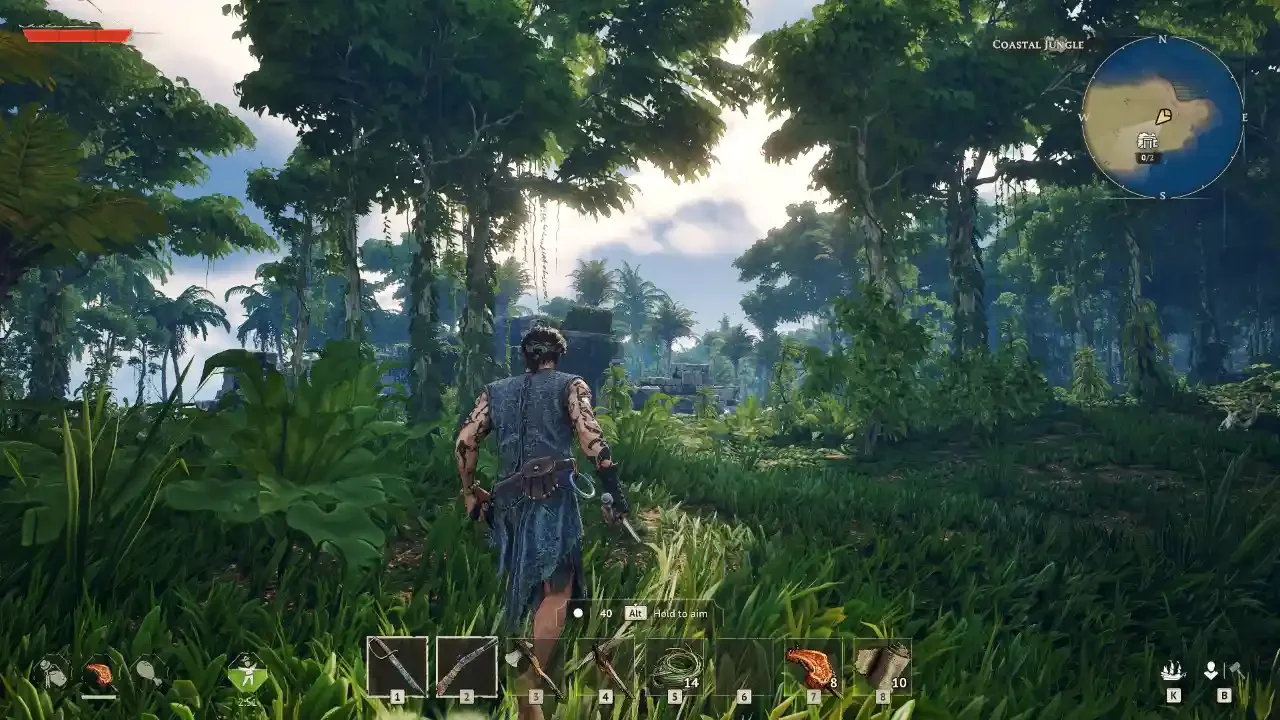
Pre-Fight Preparation
Your survival is largely dictated by what you do before you ever draw your sword. You cannot out-skill a lack of preparation.
Eat Your Food
Your baseline health and stamina are abysmal. You absolutely must eat before engaging a pirate camp. You can have two food buffs active simultaneously. Consuming a high-tier meal will drastically multiply your health pool, allowing you to survive a missed dodge. Do not hoard your provisions. If you need a refresher on the best stat-boosting meals, check out my Windrose cooking and recipes guide.
Maximize Base Comfort
Never leave your home without the Rested buff. Standing near your Bonfire grants you a massive boost to your stamina regeneration. By placing decorative furniture around your camp, you can extend this buff to last upwards of 30 minutes. You need that rapid stamina recovery to keep dodging during a prolonged fight. Read my stamina management guide to understand exactly how to exploit this system.
Constant Upgrades
The game scales enemy damage assuming you are actively upgrading your wardrobe. Your clothes are your armor. A level 1 jacket will get you killed in two hits. A level 8 jacket, which you can craft just using rough hides from the starting area, provides enough physical defense to shrug off a heavy blow.
The Rhythm of the Fight
Combat in Windrose is a turn-based dance masquerading as an action game. It is all about reading the room.
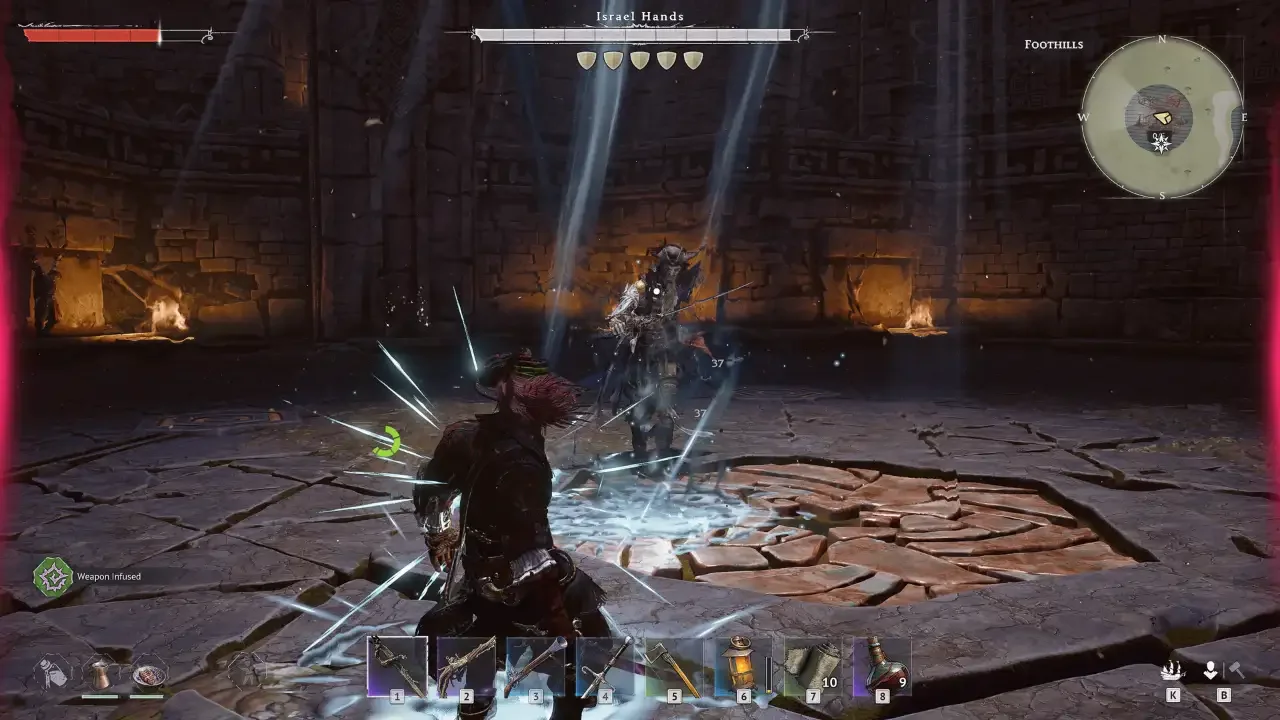
Shield Management
Look under your health bar, and look under the enemy's health bar. You will see a row of small shield icons. These dictate your blocking capacity.
Every time you block a standard attack, you lose a shield. If your shields deplete completely, your guard is broken, and the next hit will stagger you. The exact same rule applies to your enemies. If you hit a pirate enough times to break all of their shields, they will enter a stunned state. This is your green light to unleash a heavy combo. Just remember that the stun only lasts a few seconds before they regenerate their guard and strike back.
The Two-Hit Rule
Greed is the number one cause of death. When an enemy finishes their attack animation, it is your turn to strike.
Swing exactly two times, and then immediately stop. Prepare to block or dodge. If you attempt to squeeze a third or fourth strike into the window, the enemy will hyper-armor through your animation and bludgeon you. Only commit to a full weapon combo if the enemy's shields are entirely broken and they are actively stunned.
Crowd Control and Triage
Fighting a single boar is easy. Fighting a pirate captain and his three rabid dogs is a nightmare.
Never walk directly into the center of a camp. Use a firearm or a bow to shoot the furthest guard, then sprint backward. Kite them out one by one. If you accidentally pull the entire camp, you need to abandon your Pierce weapons (like Rapiers) and switch to a Slash weapon like a Halberd or Greatsword so you can hit multiple targets with a single horizontal swing.
When your health drops below 50 percent, stop fighting and start healing. Bandages are incredibly cheap to craft (requiring just plant fiber and cloth), but the healing effect is slow and instantly cancels if you take a hit. Save your bandages for patching up after the fight. When you are actively dodging swords, you need to drink a potion for instant burst healing. If you are out of supplies, check my Windrose potion and alchemy guide to get your laboratory running.
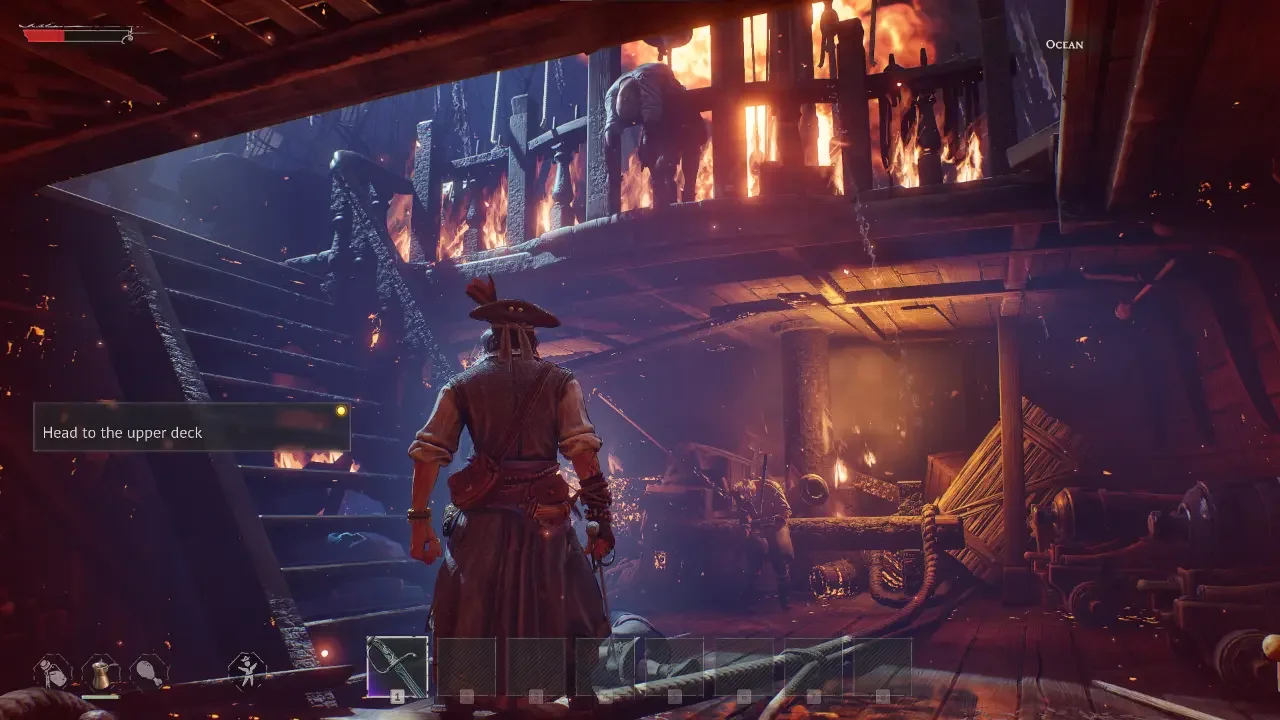
The Walk of Shame
You are going to die. It happens.
Fortunately, Windrose is incredibly forgiving. When you die, you do not lose the gear currently slotted into your quick-bar, and your remaining inventory is packed into a tombstone that stays permanently in the world until you retrieve it. Even better, if you managed to chunk a boss down to half health before dying, their health bar will often stay at 50 percent if you manage to sprint back quickly enough.
To completely trivialize the death penalty, always carry a Tent or the materials for a Fast Travel Bell. Drop your spawn point directly outside the ruins or pirate camp before you engage. If you get overwhelmed, your walk of shame takes ten seconds instead of ten minutes. Keep your guard up, watch your stamina, and check our Windrose Hub for more tactical breakdowns.