Windrose Boss Guide: How to Beat Captain Thomas Richards
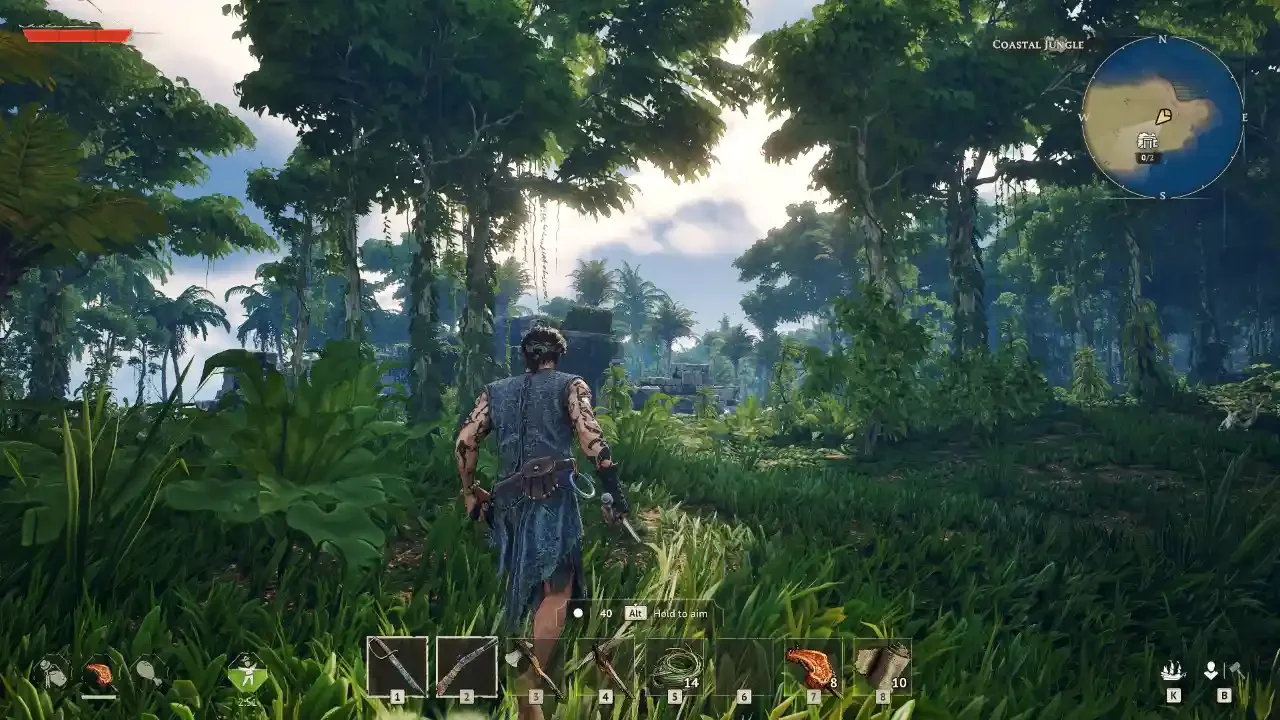
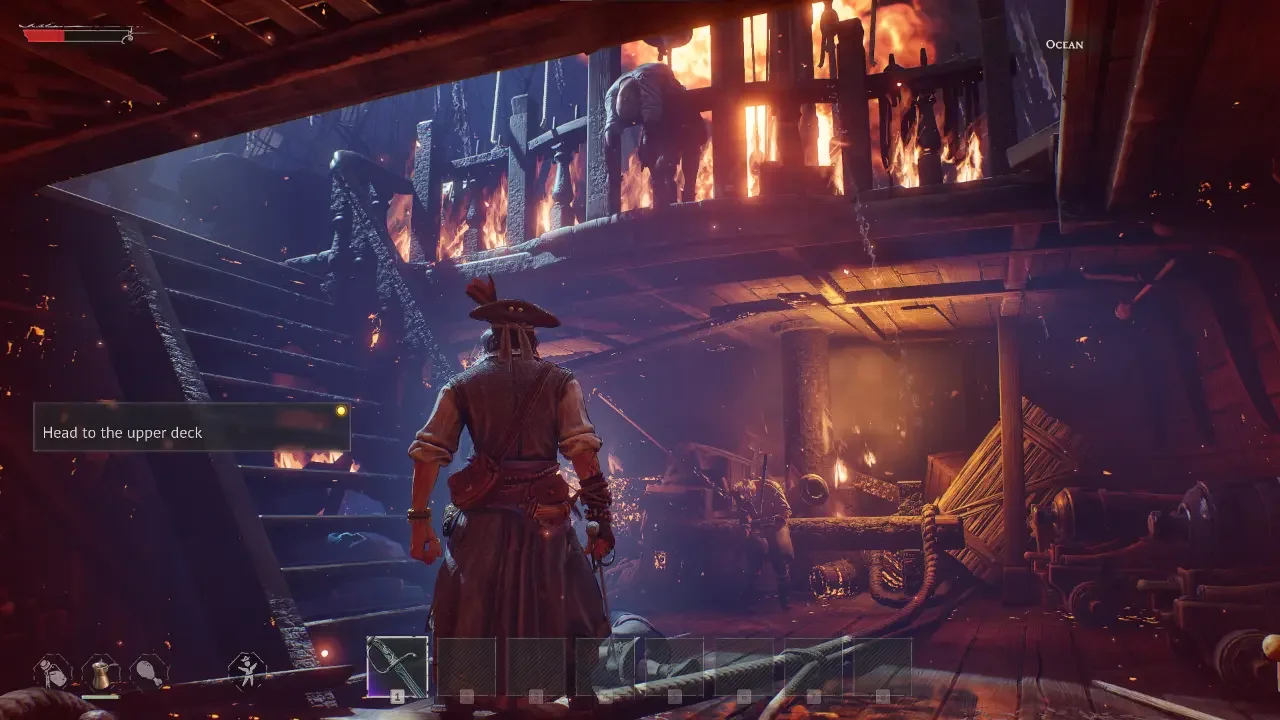
The game spends the first few hours teaching you how to punch boars, and then it locks you in a cave with a heavily armored pirate captain who can kill you in two swings.
Captain Thomas Richards is the first true skill check in Windrose. He is not a random enemy camp lieutenant you can just blindly hack to death. The combat system leans heavily into its souls-lite mechanics here, demanding patience, stamina management, and an understanding of attack telegraphs.
If you walk into his arena wearing the starter rags and swinging a level one club, you are going to spend the rest of the evening staring at the respawn screen. I had to learn this the hard way. Here is exactly how you need to prepare your pirate and how to exploit his specific combat loop.
The Pre-Fight Checklist
Preparation is arguably more important than mechanical skill in Windrose. Because of how the enemy scaling works, you can give yourself a massive statistical advantage before you ever draw your sword.
Maximize Your Upgrades
The highest level you can physically upgrade your gear before unlocking the next zone is Level 5. Do not challenge Thomas until your primary weapon, your firearm, and all five pieces of your armor are sitting at Level 5. You need the raw damage output to break his posture, and you need the physical defense to survive his unblockable attacks. If you are short on materials to fund these upgrades, check out my copper mining and smelting guide.
Armor Set Synergy
Do not just wear random pieces of uncommon armor. You need the set bonuses provided by Rare gear. You can find these blueprints by raiding pirate camps or buying them directly from Faction Provisioners in Tortuga.
I highly recommend mixing sets to create a hybrid build for this specific fight. Wearing two pieces of the Conquistador's Armor gives you a flat 15% damage reduction, while two pieces of the Flibustier’s Attire reduces the stamina cost of your attacks, allowing you to dodge more frequently. If you want a complete breakdown of what every single armor piece does, read my weapons and armor crafting guide.
Buffs and Consumables
Your base health pool is pathetic. You must eat cooked food before entering the cave. Do not just eat raw bananas. Cook meals that provide the maximum 30-minute buffs. You can easily double your health and boost your primary damage stat by consuming the right dishes. Check my Windrose cooking guide for the exact recipes.
Also, make sure you spend a few minutes standing by your Bonfire before leaving base so you trigger the "Rested" buff, which drastically increases your stamina regeneration. Finally, fill your pockets with actual Healing Potions. Bandages heal you too slowly and the effect breaks if you take damage. You need instant health recovery.
The Tent Trick
Because Thomas is an instanced boss, you cannot simply drop a tent inside his arena and respawn indefinitely. If you die, you have to run all the way back. To save yourself the miserable commute, drop a Tent directly outside the cave entrance and set it as your active revival point.
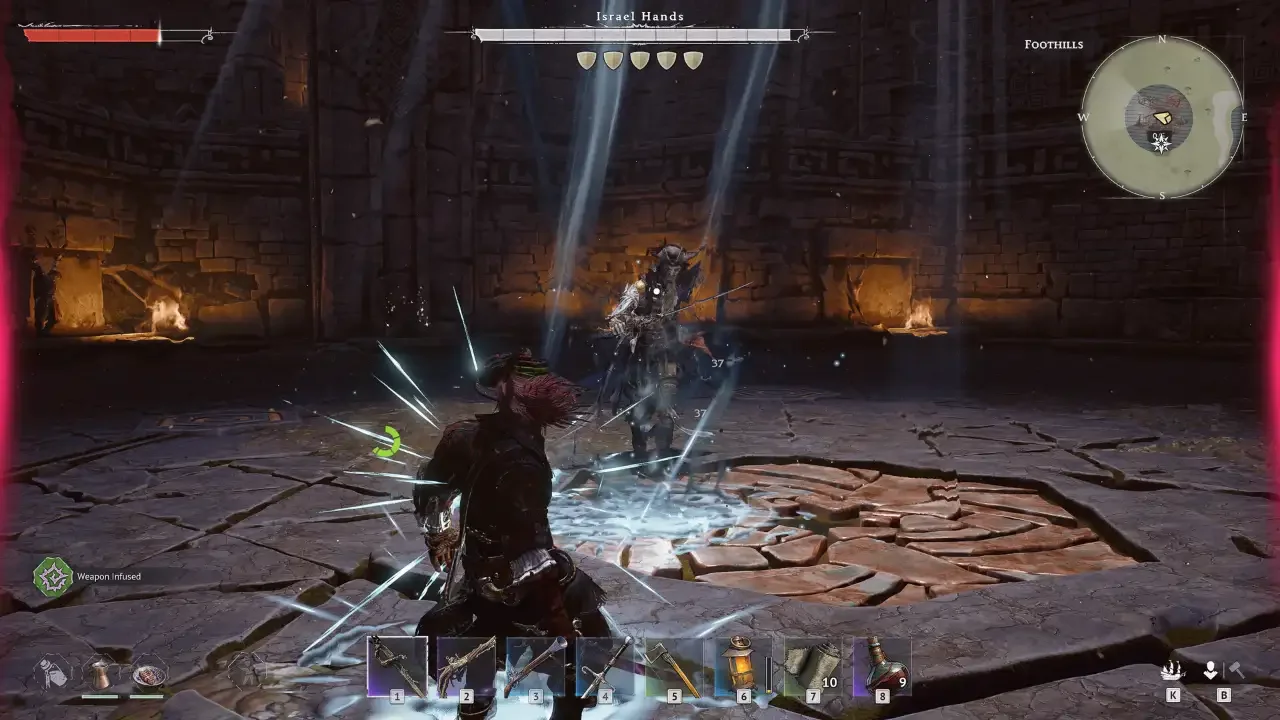
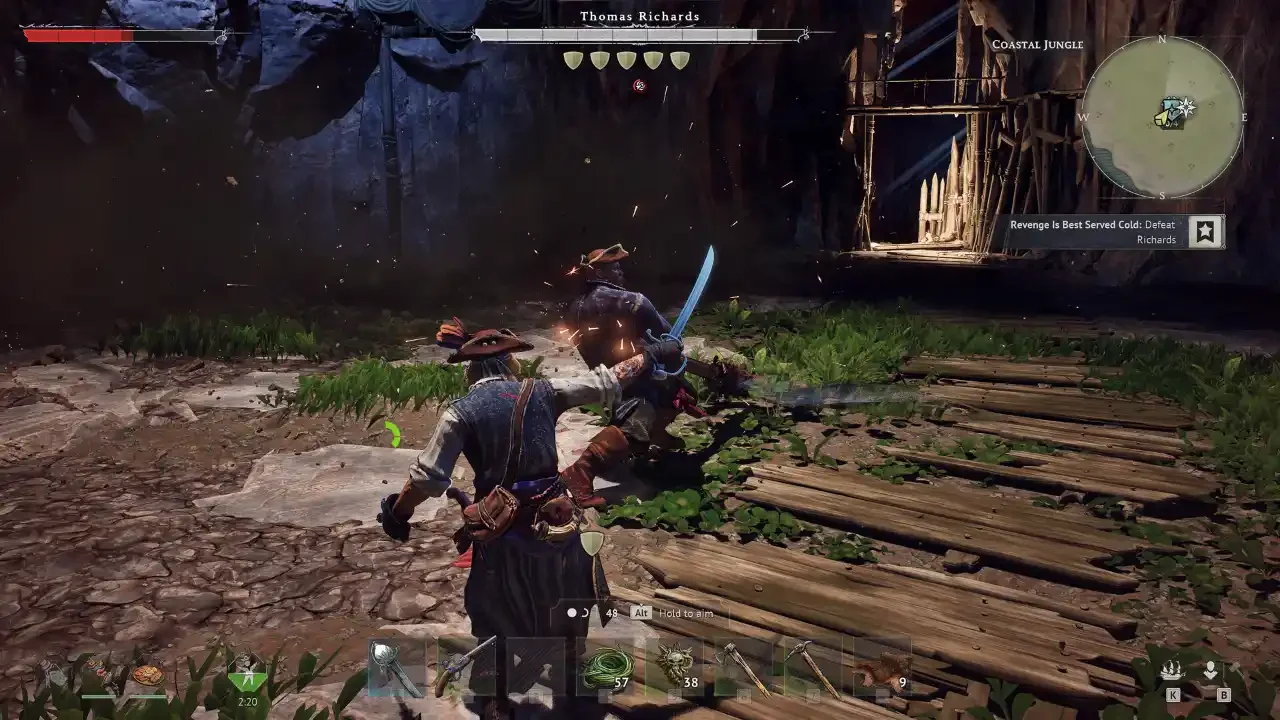
Analyzing the Move-Set
Thomas only has a handful of attacks, but they are devastating if they connect. You need to focus entirely on dodging (Ctrl) rather than trying to perfectly parry his heavy swings.
Execution and Strategy
Once you step into the arena, use the target lock-on feature immediately. It stops the camera from violently swinging around when he charges past you.
The entire fight is a test of greed. If you try to land four hits when you only have a window for two, he will hyper-armor through your attack and crush you. Wait for his combo to finish, step in, hit him once or twice, and immediately back off so your stamina can recharge.
You have to maintain a consistent rhythm. Thomas has a posture shield represented by small icons below his health bar. Every time you hit him, a shield breaks. If you stop attacking to run away and hide, those shields will slowly regenerate. You have to keep the pressure on. Once you break the final shield, he will stagger for a brief second. This is your window to unleash your heavy attacks.
The Firearm Exploit
If you really want to trivialize the encounter and you have been hoarding resources, you can essentially solo him with a Blunderbuss. The close-range burst damage completely shreds his shields. The only problem is that you need a massive amount of ammunition, and crafting explosives at this stage of the game is difficult. If you want to try this route, read my gunpowder farming guide to stock up before the fight.
Defeating Thomas unlocks the Foothills biome, raises your level cap, and gives you access to the iron required for mid-game progression. Loot his corpse, tear down your temporary tent, and keep an eye on our Windrose Hub as you sail to the next island.