Crimson Desert: How To Find And Tame Every Legendary Horse
Getting thrown off a cliff by a digital horse is humiliating, but these three legendary mounts are absolutely worth the bruised ego.
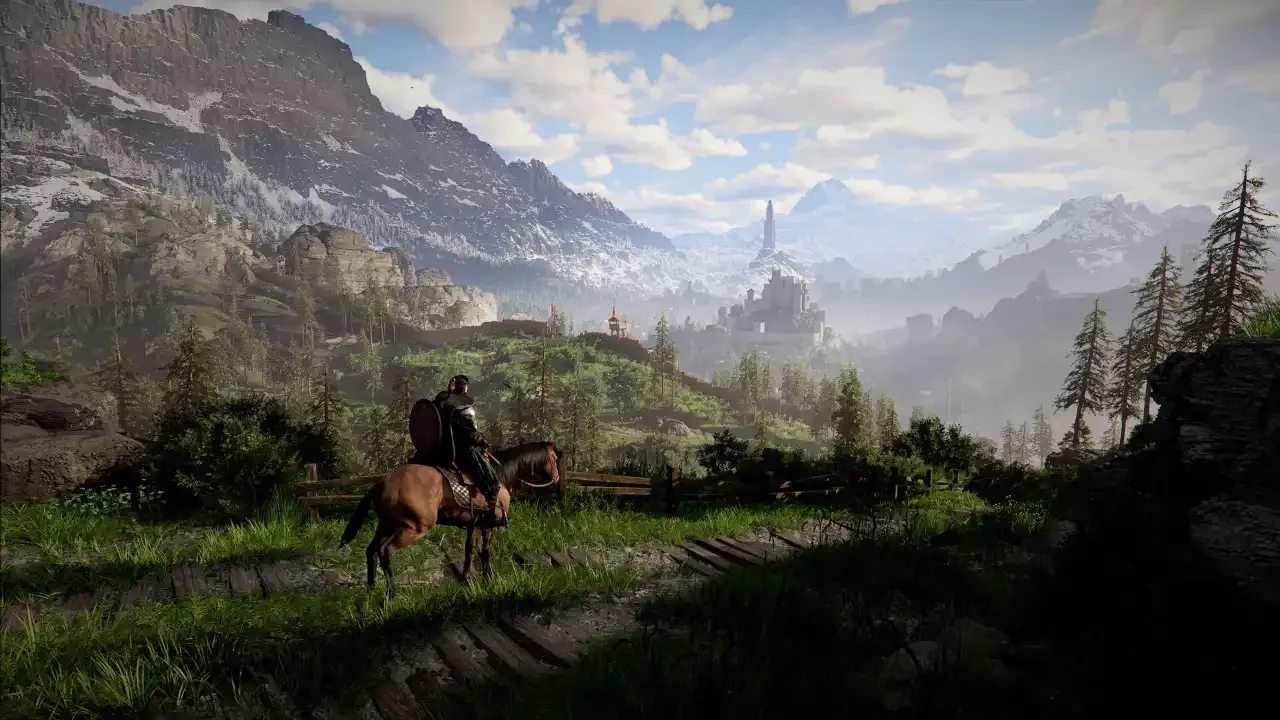
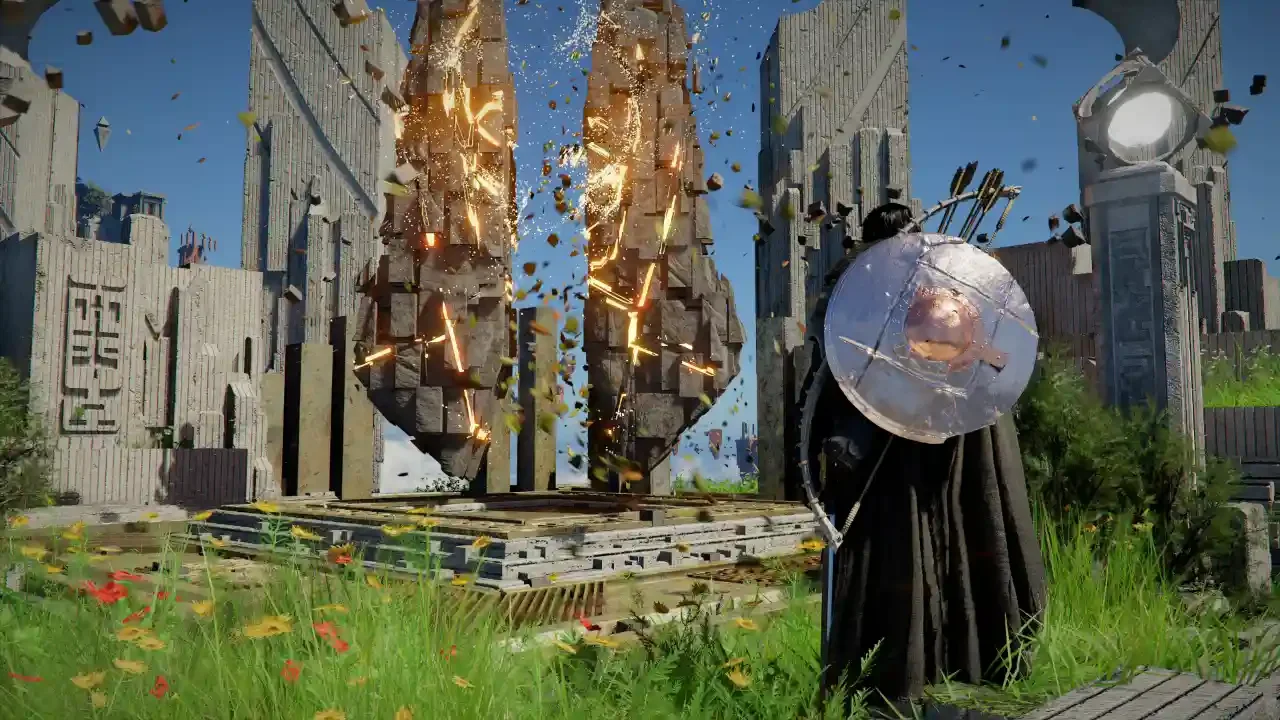
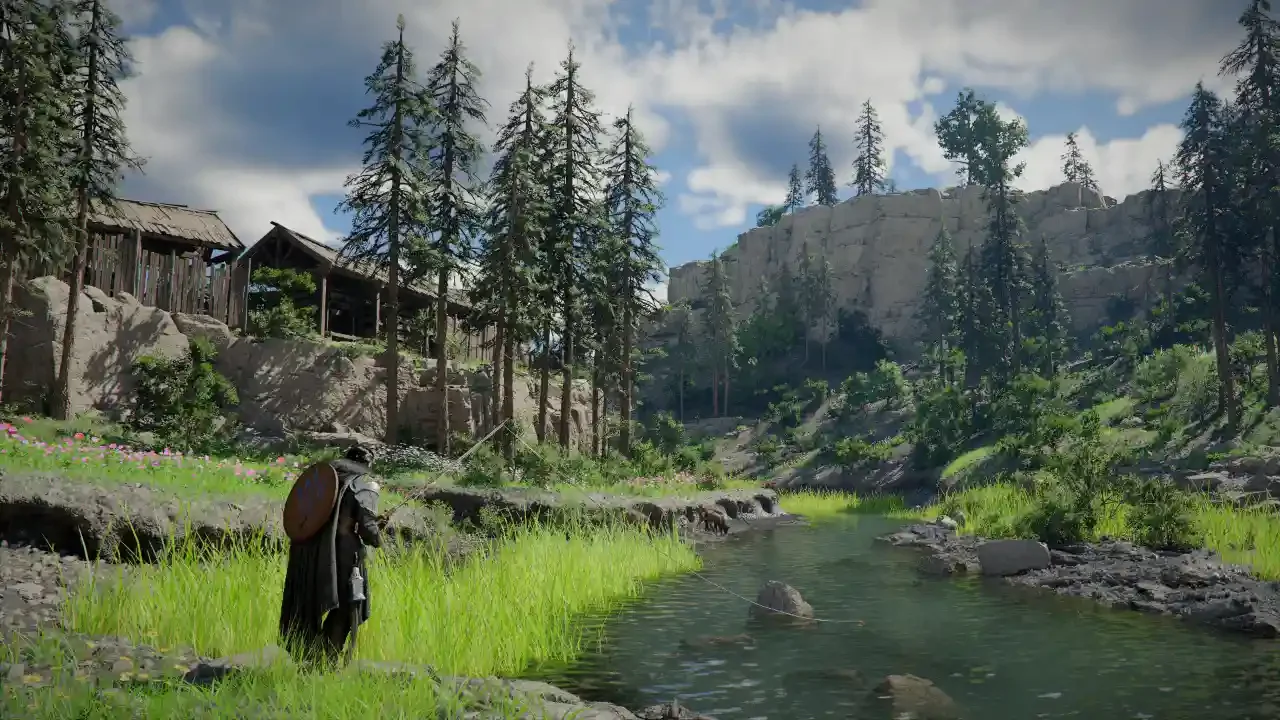
Navigating the massive open world of Pywel on foot is an incredibly efficient way to waste your evening. You need a mount. But relying on the generic starter horses you find wandering the early zones is a miserable experience. They are slow, their stamina depletes rapidly, and they have a terrible habit of dying the second a random bandit looks at them funny. If you want to actually traverse this map without losing your mind, you need to track down the legendary horses.
There are three specific legendary steeds hidden across the world map. They each specialize in a completely different mechanical area. Royler is built for pure speed. Rokade is an absolute tank designed for survivability. Camora is a war horse that excels in mounted combat. If you want a broader look at the game's traversal options, you can check out my Crimson Desert mounts and vehicles guide, but today I am strictly focusing on these three legendary beasts.
The Brutal Taming Ritual
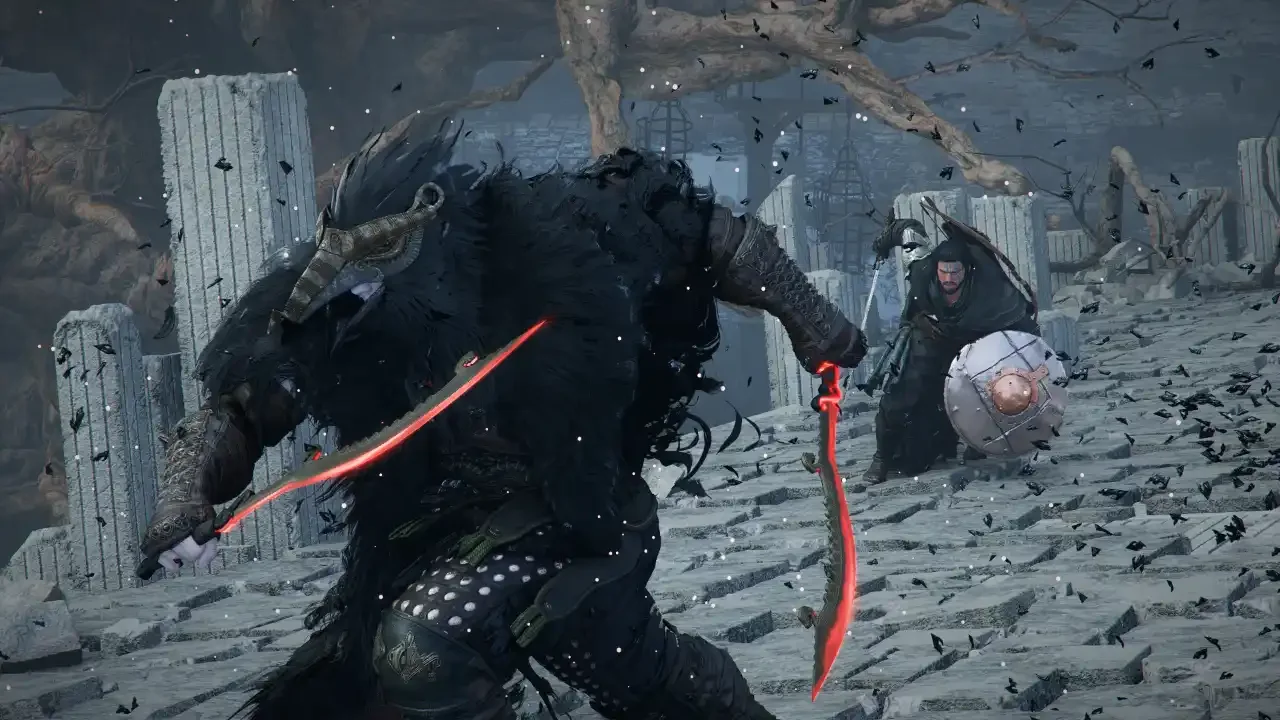
Before you sprint off into the wilderness to find these animals, you need to understand that taming them is not a gentle process. They will fight you, and if you are unprepared, they will repeatedly throw you into the mud.
The Stamina Check
The taming minigame in this game is essentially a brutal stamina check. When you run up to a wild horse and press the button to mount it, the animal immediately starts bucking. The in game tooltip tells you to push your analog stick in the opposite direction of the horse's head or tail to maintain balance. You have to keep doing this until the taming progress bar fills completely.
The problem is that this process drains your stamina at a terrifying rate. Legendary horses fight significantly harder and longer than standard mounts. If your stamina bar hits zero during the minigame, you get violently knocked off and have to start the entire ordeal from scratch. I highly recommend entering these encounters with at least Stamina Level 6 unlocked on your skill tree. Honestly, pushing it to Level 10 makes the process significantly less annoying. If you invested all your early points into damage, you might want to look at my Crimson Desert skill respec guide to temporarily dump some points into stamina just for these tames.
The Camera Trick
The actual physical act of fighting the horse is clunky. Trying to perfectly match the directional prompt while the animal spins in circles is frustrating. I found a much more reliable method. Once you initiate the taming sequence, just hold the movement stick straight back towards you (or hold the S key on a keyboard) and fight the camera to keep it perfectly centered directly behind the horse's rear. This strategy bypasses a lot of the erratic directional guessing and lets you focus entirely on surviving the stamina drain.
Finding Royler The Speed Demon
If you value getting from point A to point B as fast as structurally possible, Royler is arguably the greatest mount in the game. This pristine white horse is entirely focused on movement speed and stamina capacity.
The Pailune Deep Freeze
You will find Royler wandering around the Silverwolf Mountains in the Pailune region. Specifically, look for a small pond near the Snowgrass Hearth campsite. If you open your map, the spawn point is directly underneath the letter "P" in the word Pailune.
The location itself is the hardest part of this tame. The Silverwolf Mountains are locked in a freezing climate. While you are trying to wrestle this horse, the environmental cold debuff is actively draining your health and chewing through your stamina reserves. You must bring ice resistance gear or consume warming food before you mount up. If you ignore the weather mechanics, you will freeze to death before the taming bar even reaches the halfway point.
Once you actually secure Royler, the payoff is massive. He boasts a Level 4 base movement speed, whereas the other legendaries cap out at Level 3. More importantly, he unlocks the "Consecutive Instant Acceleration" skill at Level 5. This allows you to chain drift boosts together, turning your commute across Pywel into a high speed blur.
Finding Rokade The Indestructible Tank
Some players do not care about top speed. They just want a mount that does not instantly evaporate when caught in the crossfire of a mercenary camp. For that, you need Rokade.
The Temperate Tame
Rokade is a massive black horse located in the southern reaches of Hernand, near the Steel Mountains in Grace Estate. You can find him grazing by a small lake situated just west of the Spire of Insight. Because of his incredibly dark coat, he is very easy to spot against the surrounding terrain. If you have a fast travel point unlocked south of the lake, you can glide down from the northern hillside and plan your approach.
This is by far the easiest legendary to tame. The Hernand region has a mild, temperate climate. You do not have to fight freezing temperatures or burning heat while managing your stamina bar. You just need to survive the mechanical bucking minigame.
Rokade is a walking fortress. He has an absurd base health pool of 600, which is nearly double what Royler offers. If you frequently find yourself getting ambushed on the road, Rokade allows you to safely absorb the damage and ride right through the danger without ending up face down in the dirt.
Finding Camora The War Horse
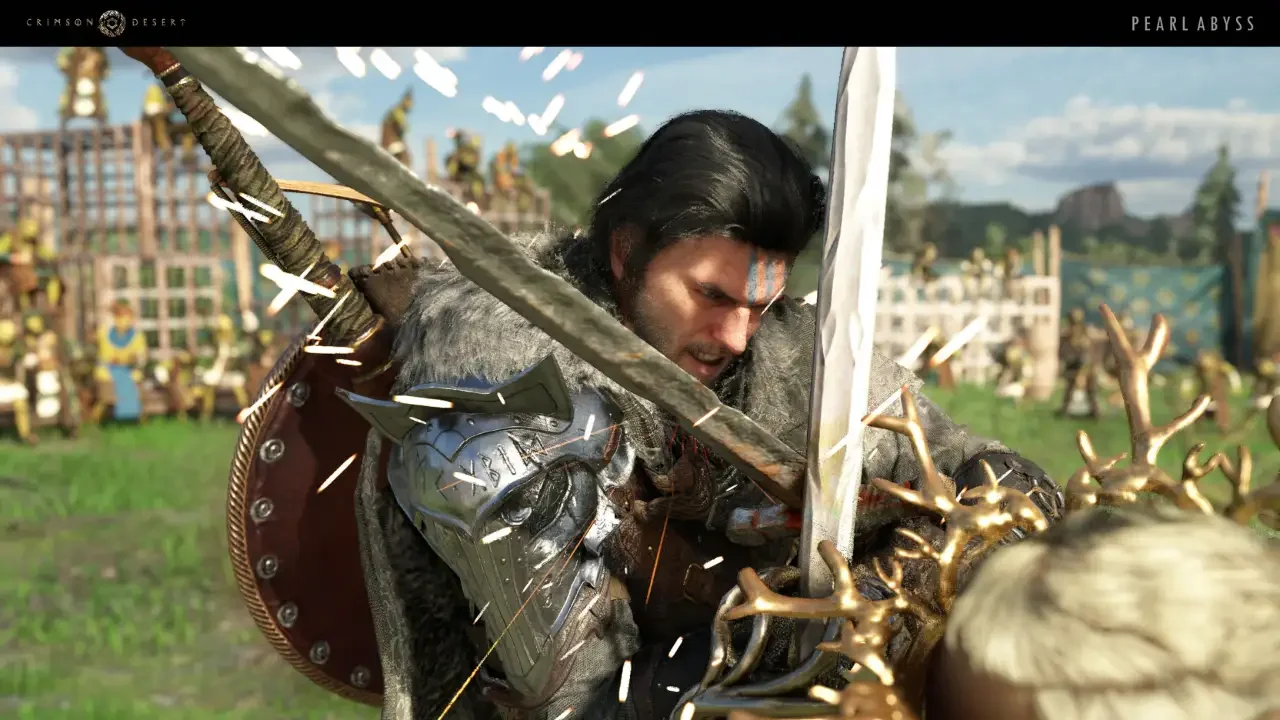
If you actively want to use your mount as a weapon to trample your enemies, Camora is the horse you want in your stable. This red coated beast boasts the highest base attack and defense stats of the entire legendary roster.
The Redtree Forest Trap
Camora is located far to the south in the Tashkalp region. You need to head into the Redtree Forest and locate a cavern meadow filled with flowers. This spot is situated east of the Sanctum of Renunciation and west of the Red River. It is a dense, humid rainforest environment, meaning you should equip some fire resistance gear to mitigate the heat debuff during the taming process.
The environment here is actively hostile to your camera angles. The Redtree Forest is packed with massive tree trunks and dense foliage. If you try to mount Camora while she is backed into a cluster of trees, the camera will violently squish against the collision mesh, completely blinding you during the taming minigame. I strongly advise spending a few minutes slowly walking towards her to herd her into an open clearing before you press the mount button.
Legendary Mount Base Stats
To help you decide which horse fits your current build, I have put together the exact starting numbers and early skill unlocks for these elite mounts.