LEGO Batman: Legacy of the Dark Knight Progression Guide
Wandering blindly into Gotham City with unoptimized gear is an incredibly efficient way to get buried under a mountain of plastic blocks.
The progression system in LEGO Batman: Legacy of the Dark Knight is surprisingly deep, splitting your choices between universal character skills and highly specialized gadget upgrades. If you try to save up your currency for the flashy ultimate abilities right away, you will quickly realize they are clunky and require a completely full focus meter to actually execute. My time on the streets taught me that prioritizing cheap, tactical tools early on makes the entire experience feel significantly smoother.
Before you throw your resources at useless upgrades, you need a clear map of what actually works. You handle weapon upgrades at workbenches using the WayneTech Chips collected from hidden caches, while universal skills require the Gold Bricks you earn by completing main story levels. The workbench mechanics officially unlock when you return to the Batcave with Jim Gordon after dealing with Carmine Falcone, but you can find separate workbenches scattered all over the open world later.
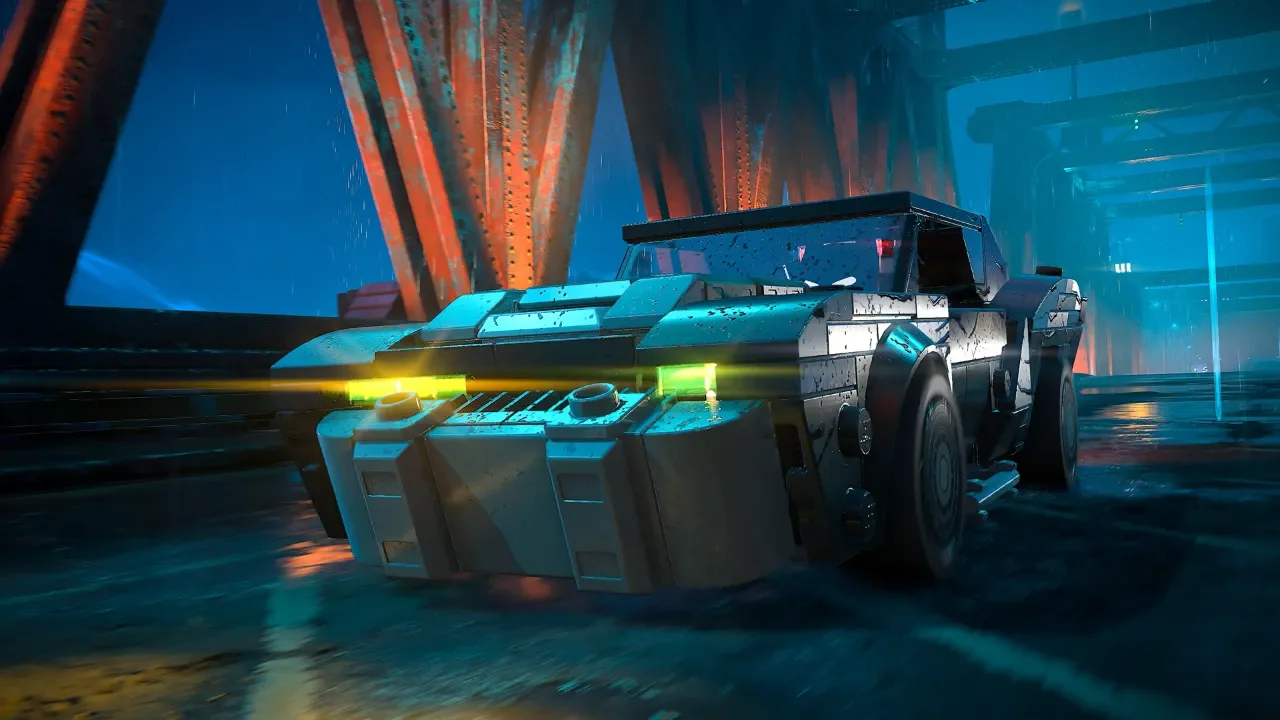
If you want to maximize your utility before spending cash on cosmetics from my all suits guide or filling out your garage using my all vehicles guide, focusing on the right loadout changes everything.
Universal Character Skills
The universal skill tree is split between raw combat efficiency and open world exploration tools.
While it is incredibly tempting to clear out every single side activity the second you step onto the pavement, you should focus heavily on the primary campaign until the start of Chapter 2. Tiers are strictly gated behind story progression, and getting past Chapter 1 unlocks the best abilities in the entire tree. The skills are not locked behind strict paths, so you are entirely free to jump between the combat and exploration columns as you see fit.
Mandatory Exploration Skills
The absolute truth of any brick based adventure is that you need cash. If you want to stroll into Bat-Mite's store feeling rich, your top priority should be any skill that manipulates your currency intake.
You need to buy Hyper Combo immediately. This is the single most impactful exploration skill in the entire game. Your baseline stud multiplier caps out at x2, but purchasing this tier 1 skill instantly bumps the limit to x3. Once you complete Chapter 4, you can buy a second instance of Hyper Combo to push the maximum multiplier cap to x4. Pair this with the strategies in my unlimited studs guide to completely break the economy.
You should also grab Stud Magnet after Chapter 1. This expands your pickup radius, quietly saving you from backtracking to grab currency that dropped at weird angles during fast paced brawls. During Chapter 3, unlock Speedy Stud Combo and Stud Combo Duration together. They work in perfect harmony, with one filling your combo meter at an accelerated rate and the other slowing down the depletion speed so your multipliers stay alive while you run between fights.
If you are chasing a 100 percent completion rate for my all achievements guide, pick up Collectible Detective. It adds a flashing green magnifier next to your health bar whenever you walk near an undetected collectible. Just keep in mind that it does not react to open world markers like WayneTech caches.
Critical Combat Upgrades
Surviving late game encounters means keeping your focus meter filled and utilizing the verticality of Gotham City.
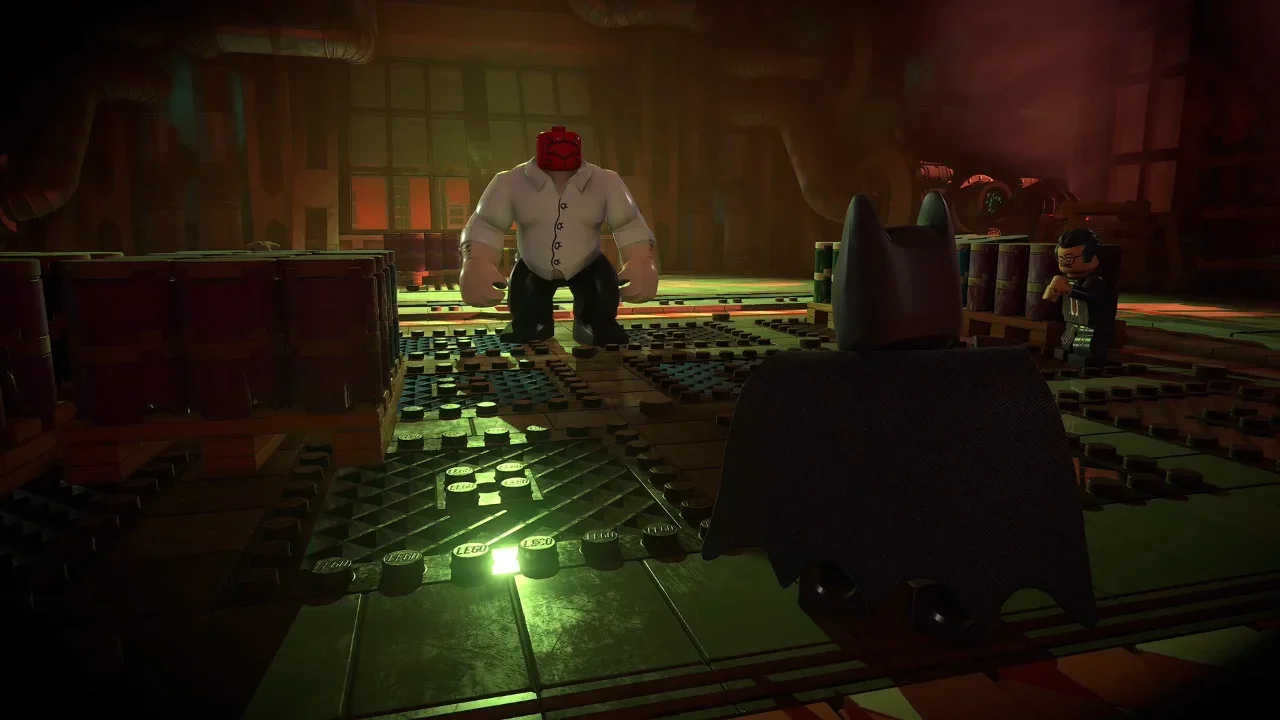
Buy Extra Focus as soon as it unlocks in tier 3. This skill drops a whole extra bar onto your focus meter. You can purchase it twice, giving you three complete bars to play with once you start Chapter 4. You can keep those bars topped off by grabbing Combat Focus and Perfect Dodge. Combat Focus accelerates how much meter you build from standard punches, while Perfect Dodge rewards your reactive timing by giving you a massive chunk of focus for dodging ranged or charge attacks at the final second.
If you are playing on the punishing Dark Knight difficulty where your lives are strictly limited, Big Hearted is an absolute necessity. It forces every focus takedown and defeated Brute enemy to drop a giant heart for an instant full heal. Finally, grab Glide Takedown at the start of Chapter 2. This allows you to launch combat directly from the air, knocking out lone targets from a distance and letting you initiate group fights on your own terms.
The Best Weapon Upgrades
Every character on your roster brings a completely separate gadget layout to the field. If you are taking advantage of the local multiplayer mechanics using my co-op multiplayer guide, coordinating your weapon paths with your couch partner makes clearing those dungeon style levels a breeze.
Because you spend the majority of the campaign controlling the Caped Crusader, you should pour your initial WayneTech Chips into his personal toolset before upgrading your allies. If you want to know exactly when your backup arrives, check out my character unlock guide.
Batman the Brawler
Batman functions best when using underhanded diversions to clump enemies together for massive damage. For 9 chips, the Scatterang upgrade forces him to throw multiple Batarangs at once, which is absolutely incredible for smashing scenery to farm studs. You should also grab Vault Slam to bypass annoying shield defenses entirely.
Jim Gordon's Shaving Cream
The commissioner is your premier wave clearing character. The man brought a glorified can of expanding foam to a lethal gunfight, and you need to maximize it. Buying Goop Trail forces his Foam Sprayer to leave sticky traps behind as it rolls.
Catwoman's Feline Espionage
Selina Kyle relies entirely on stealth utility. You absolutely need to buy Cat Burglar, which significantly accelerates the stud combo meter speed whenever you are operating her remote kitten gadget.
Robin the Acrobat
Dick Grayson uses unparalleled battlefield mobility to set up combos. Bungee Cable is a cheap upgrade that turns his regular cable lines into bouncy traps so you can initiate devastating jump slam attacks.
Batgirl the Hacker
Barbara Gordon handles the annoying technological utility checks. Her Battle Station upgrade is fantastic, turning her portable drone into a stationary automatic turret that guns down nearby thugs while you focus on the boss.
Nightwing the Walking Taser
Nightwing takes Robin's basic kit and infuses it with pure electrical energy. Super Stun massively upgrades the crowd control capacity of his electric lines, while Overcharge lets you fully charge his standard Batarangs to emit an electrical shockwave across a wide area.
Talia al Ghul the Assassin
Talia trades high tech gadgets for pure League of Shadows teleportation mechanics. Teleport Takedown allows her to execute silent takedowns from a massive distance. Pair this with Stun Smoke to drop a smoke bomb behind targets when you blink.